


In Exportizer, you can easily export structured text data from clipboard to a target file of any supported format or a table of the target database (the last case is available only in Exportizer Enterprise).
There can be different reasons for doing that. Here are some examples:
- You need to export a table from an Excel file, but have problems with opening that Excel file in Exportizer either due to the architecture incompatibility (32/64 bit) or due to some other reasons.
- You need to export data from some database, which is not available in Exportizer, but you have some software which can copy the needed data there.
- You need to export the contents of a text file into the server database (possible only in Exportizer Pro or Exportizer Enterprise), but the text ODBC driver is 32-bit and the database client is 64-bit or vice versa, therefore you cannot complete the task using the standard export/import means neither in the Exportizer Pro/Enterprise 32-bit nor Exportizer Pro/Enterprise 64-bit.
So, copy the source data to clipboard and choose Export | Export from Clipboard... menu. This invokes the interface where you turn the clipboard data into the table compatible structure, i.e. tell the program how the table fields should be defined.
Clipboard Data Preparation
Everything is simple when your data contain some separator between fields, e.g. comma, semicolon, tab etc. In this case, everything is done almost automatically, because the application can find the field separator and you only have to set field sizes, check field types and specify field names if the clipboard does not include them.
Please note that the number of rows for automatic data structure analysis, as well as the number of rows in the clipboard data preview, depends on the corresponding data exporting option.
Let's try more complex case, where the clipboard data have a fixed-length format, i.e. each field has its fixed size (in characters), the same for all records.
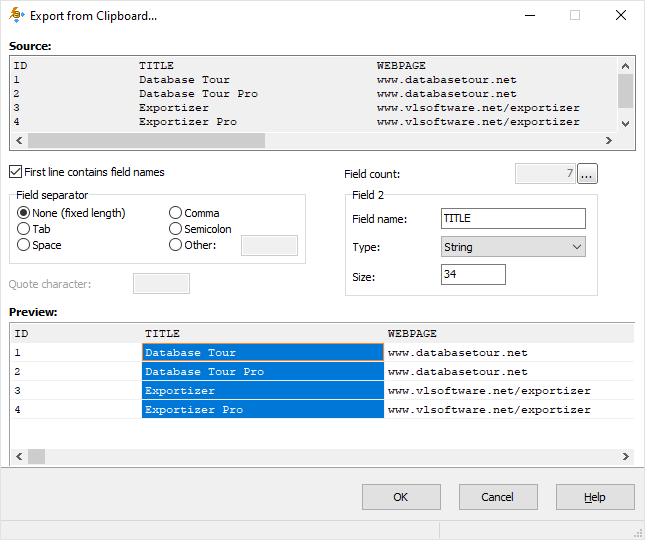
Here are the recommended actions to define the field structure for the fixed-length format:
- Turn off First line contains field names option.
- Specify the total count of the fields using '...' button.
- Select the first column in the bottom table and adjust its width in characters either in the box to the right or by resizing the right border of the column by mouse. In the box to the right, choose the correct field type. Repeat these actions for the second field and so on.
- Turn on First line contains field names option, if needed.
- Click the first column and check its field name in the box to the right. Repeat for other columns.
Once you have finished with all the settings, you can save them to a file using Save button. Next time, when you will work with the similar data structure, just load the settings from the file using Load button.
Data Exporting
After you finished and clicked OK, the standard Export dialog appears. You can choose the target format and some export options. In this example, PDF destination format is chosen:
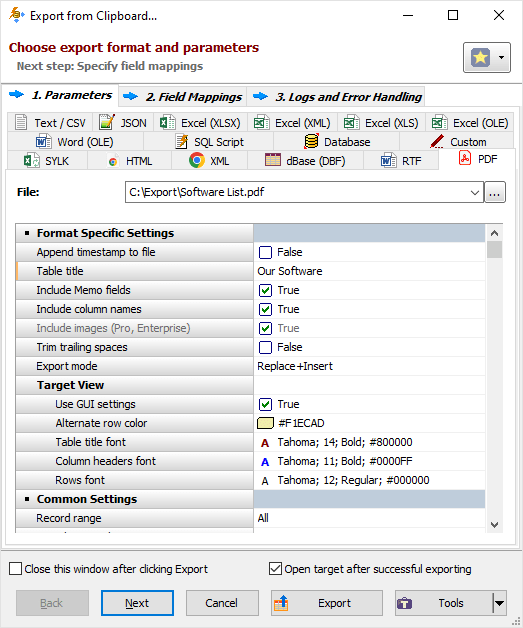
If you click Next, you will be moved to the field mappings step where the target columns names can be changed, some columns can be removed from exporting, and calculated fields can be added. This step can be skipped by clicking Export.
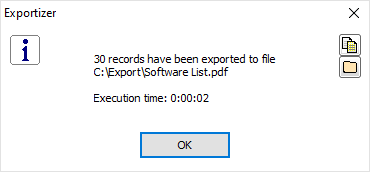
After clicking Export, the data from clipboard will be exported to the specified destination file.
See also